HD Movement Tracking: further and final iteration
Well, the end of year show has come and gone, and all that remains is the write up. Here’s a quick run down of the work that I showed and some of the development that went into it. I’ll also show the code I cobbled together from other peoples’ code wrote to do it. If you’ve not seen it already, you might want to take a look at the first and second posts that show the earlier stages. Done? Onwards!
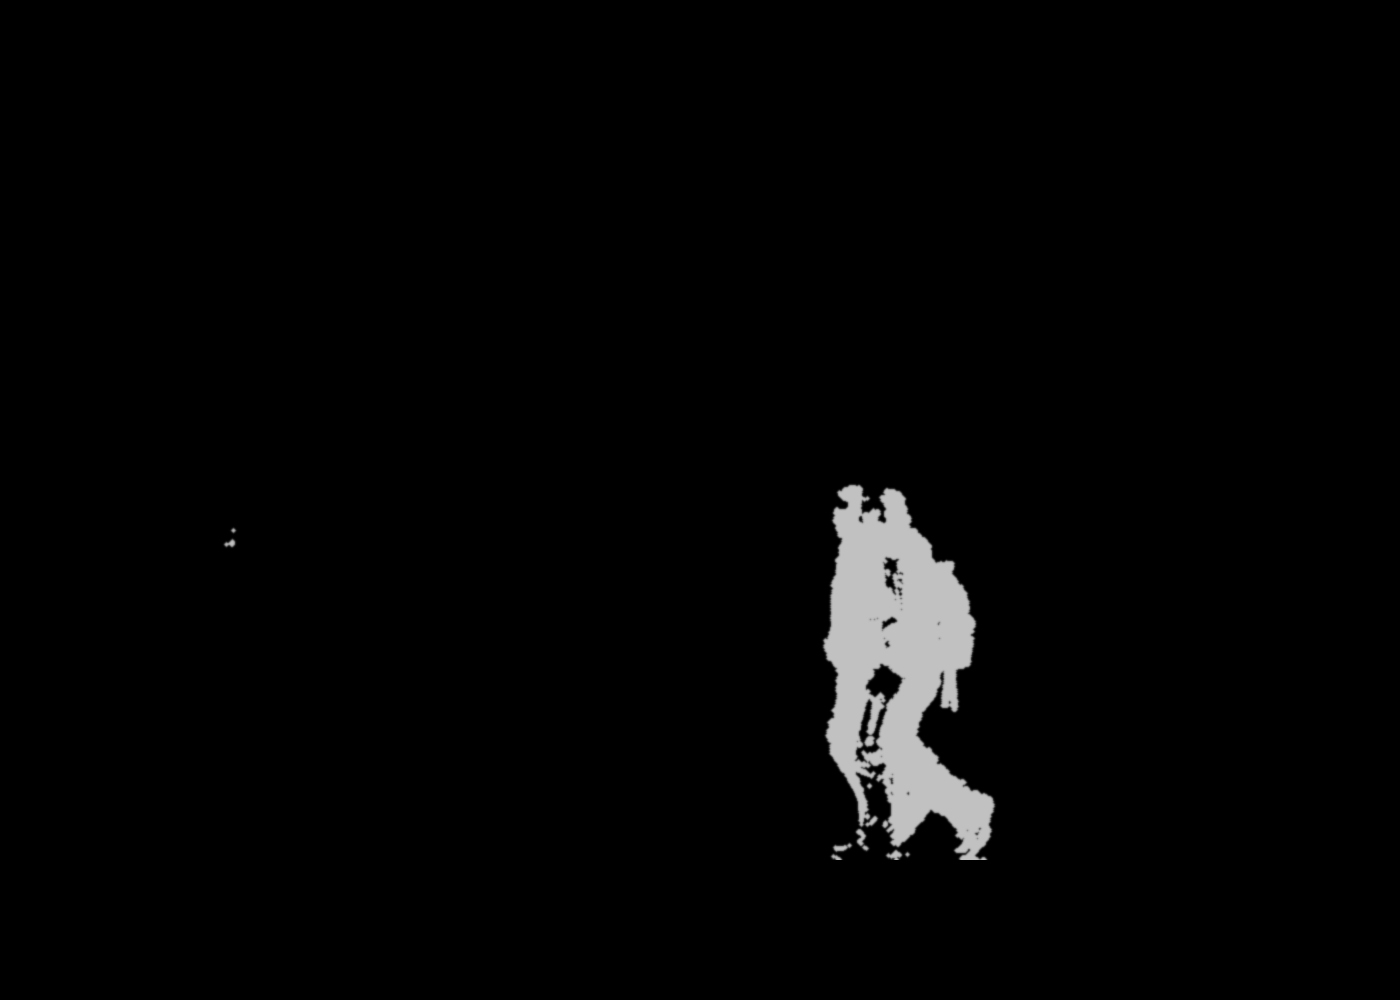
To recap slightly, the first step is to compare two adjacent frames to identify pixels that have changed. The algorithm I used for that was taken directly from the frame differencing example that comes in the Processing examples. Then we need to threshold that, so anything that has changed is white and anything that hasn’t is black. Here’s a single frame with this process applied:
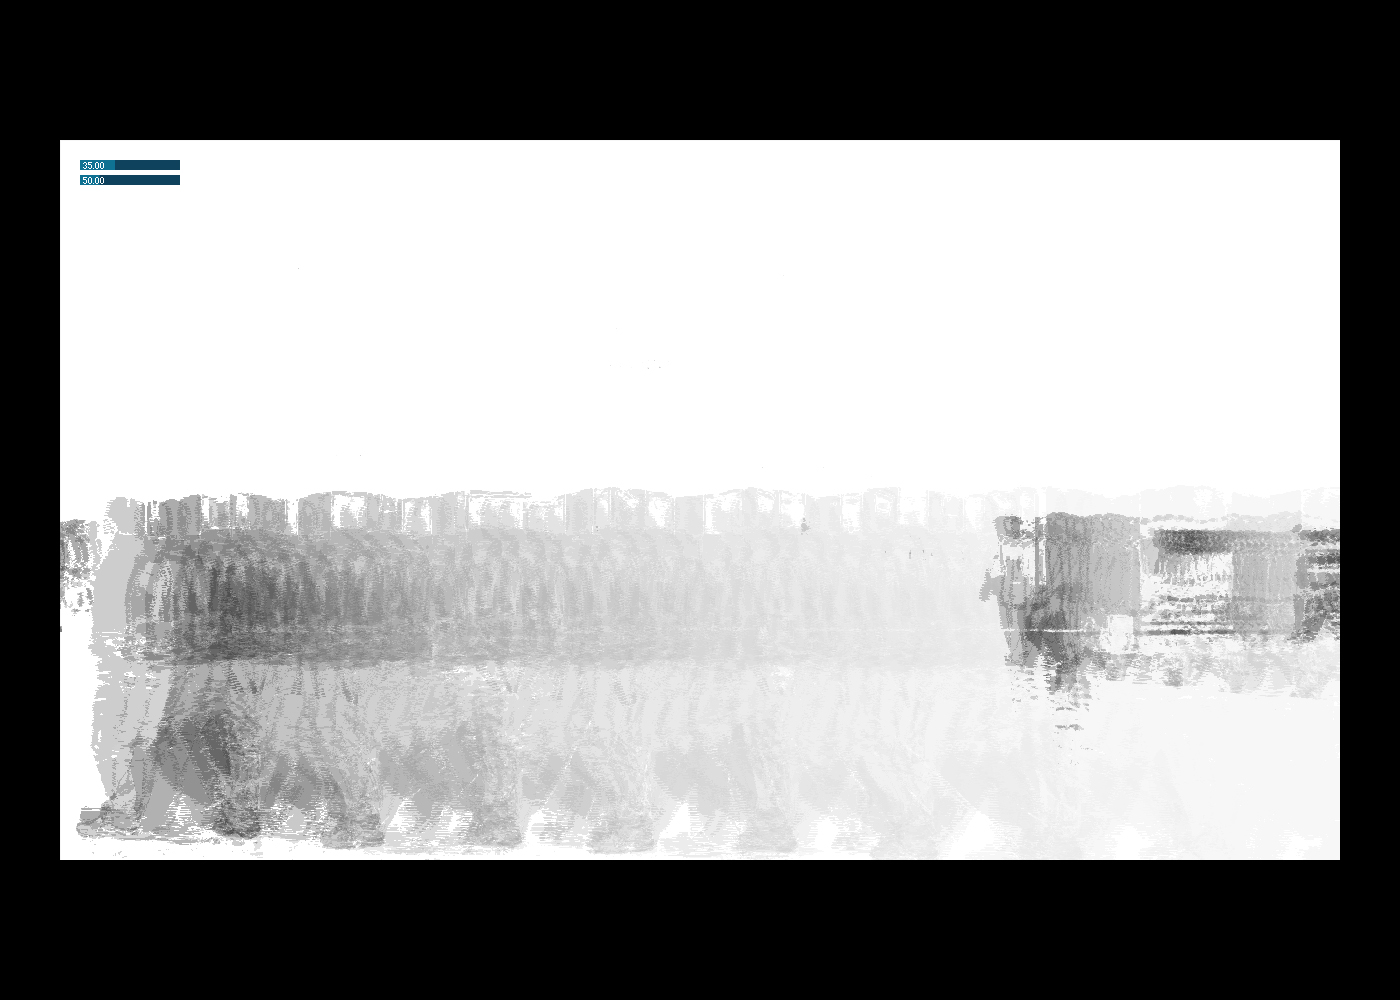
Here’s a version (in opposite colours) where movement leaves a trail over several frames:
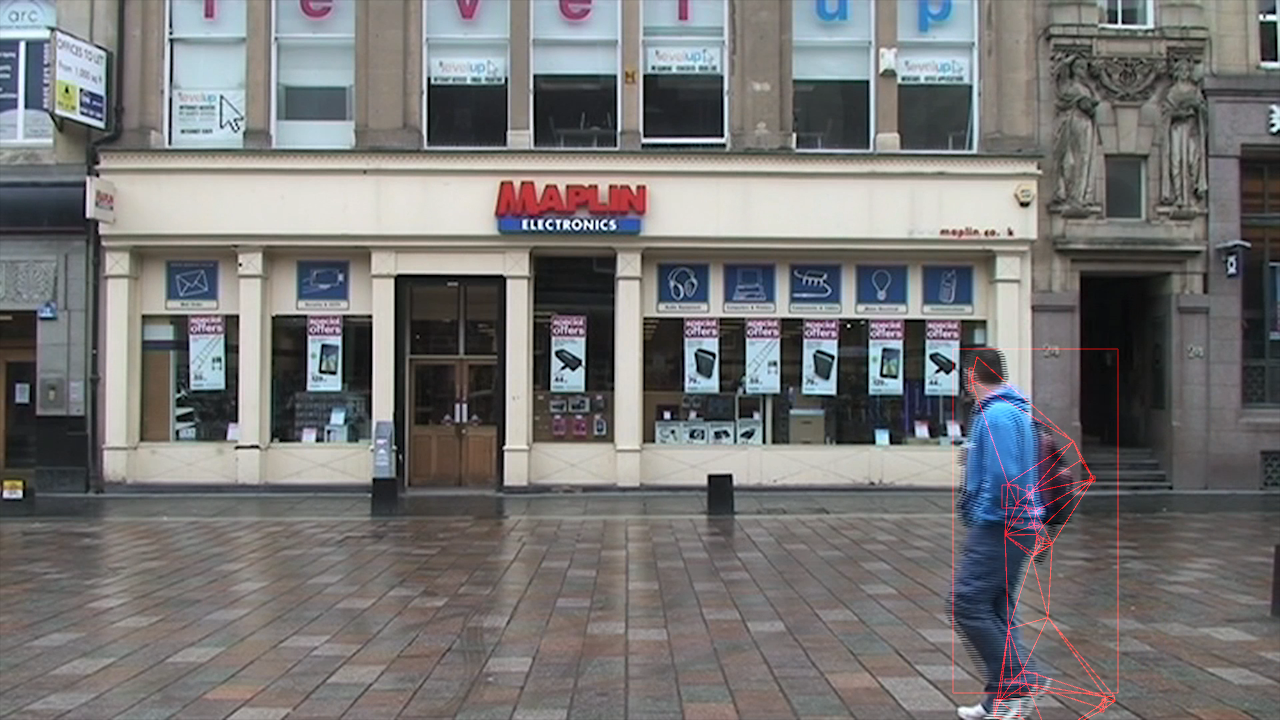
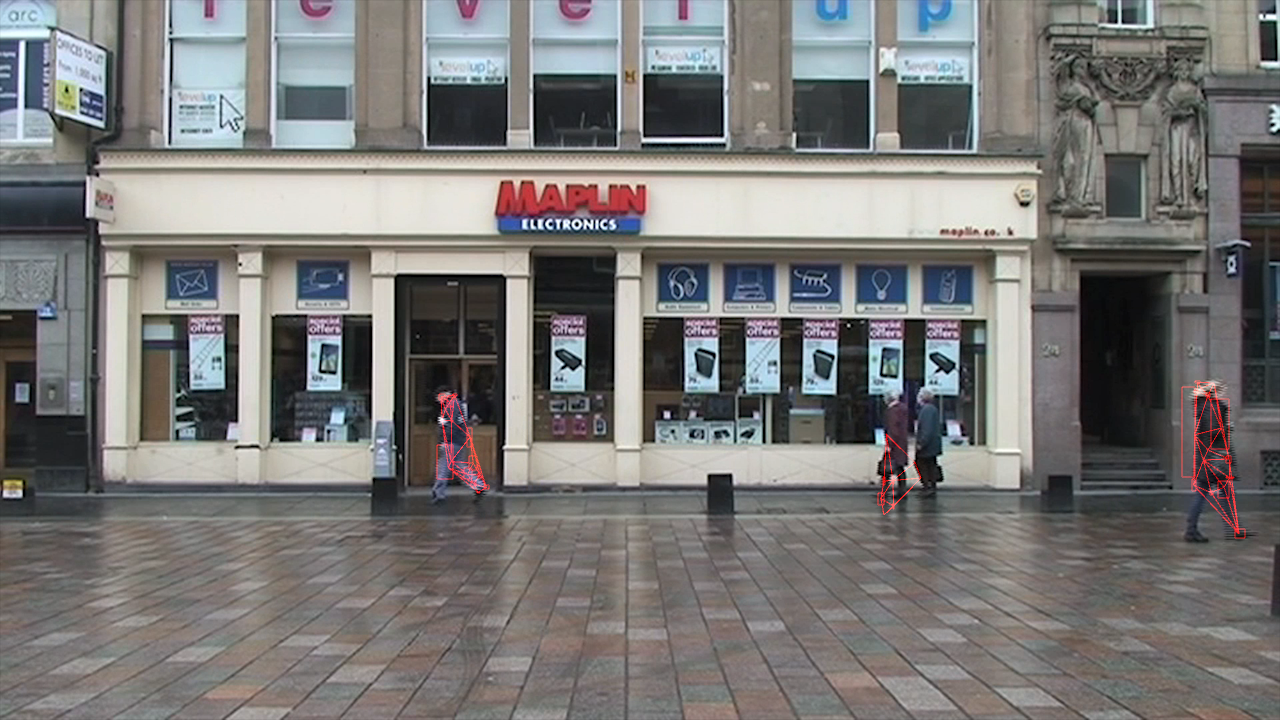
Once we have a nice clean monochrome image we can run BlobScanner which will identify any large blocks of pixels, and calculate their centroids and bounding boxes. The centroid coordinates are fed to the Mesh library which calculates and draws a Delaunay triangulation using them, which gives us a rough outline of the identified movement:
Now, the original plan was to get some big (A1+ size) prints made, so I tried some simple black and white tests. This samples every other frame, IIRC, and the frames fade over time by simply placing a slightly transparent rectangle the size of the screen each frame. It feels a bit fast:
I couldn’t settle on a good way to display lots of frames in one print, so I scrapped the idea of doing just prints and looked at the video again to see what could be improved. Sampling colours from an image is one of my favourite techniques for natural looking colour palettes, so each line samples the colour from the pixel of the original image it starts at. OpenGL additive blending makes it sparkle a bit more, especially where a lot of lines cluster together. Like this:
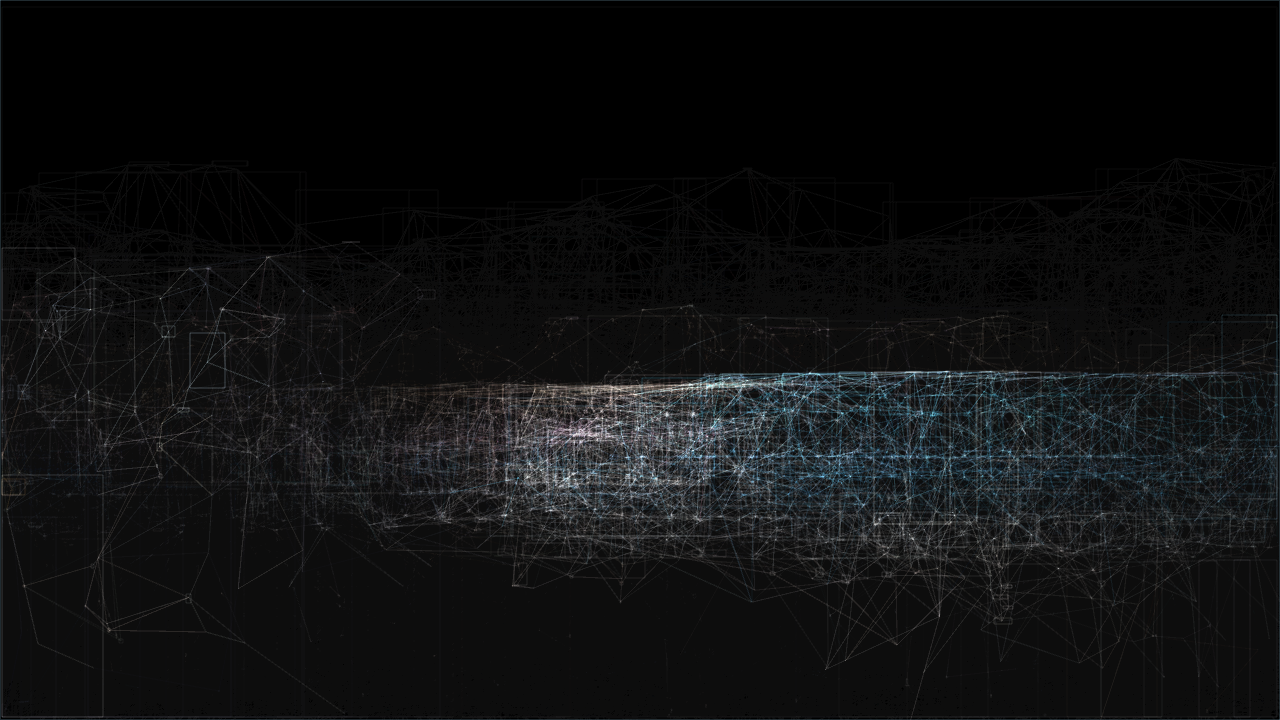
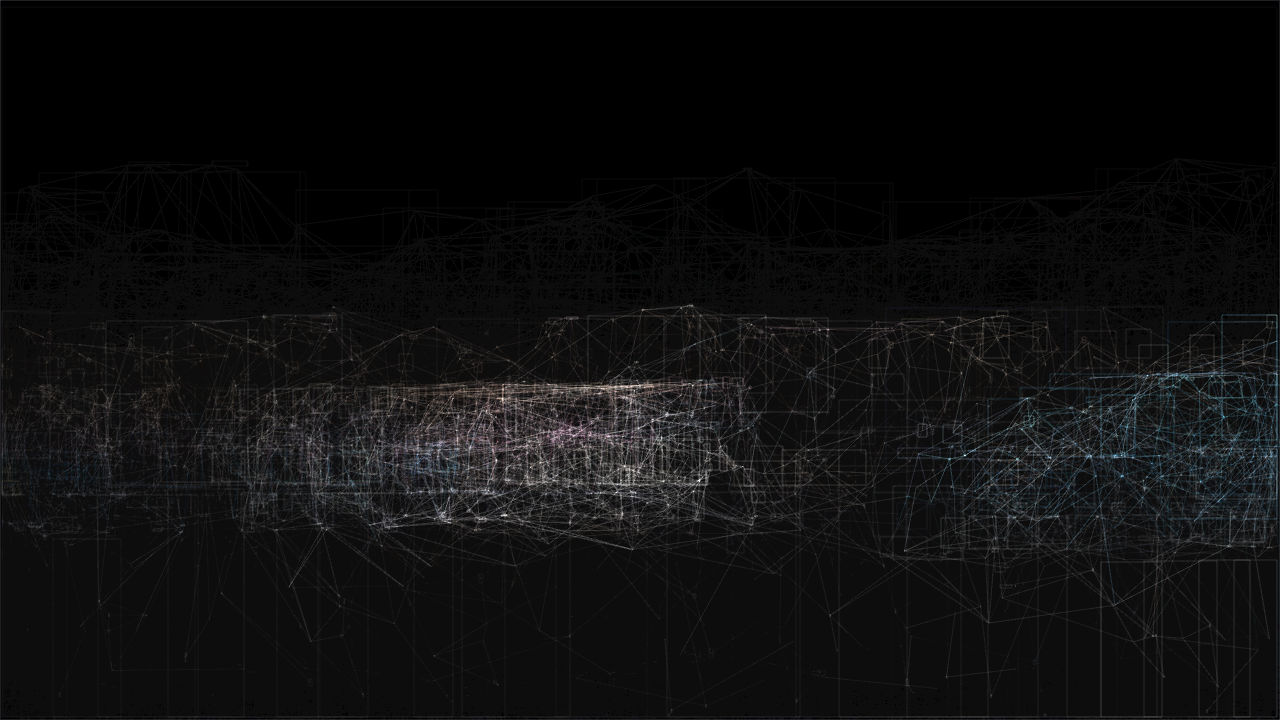
Here’s the video. I added the music specially for the online version- at the exhibition it ran silently on a loop.
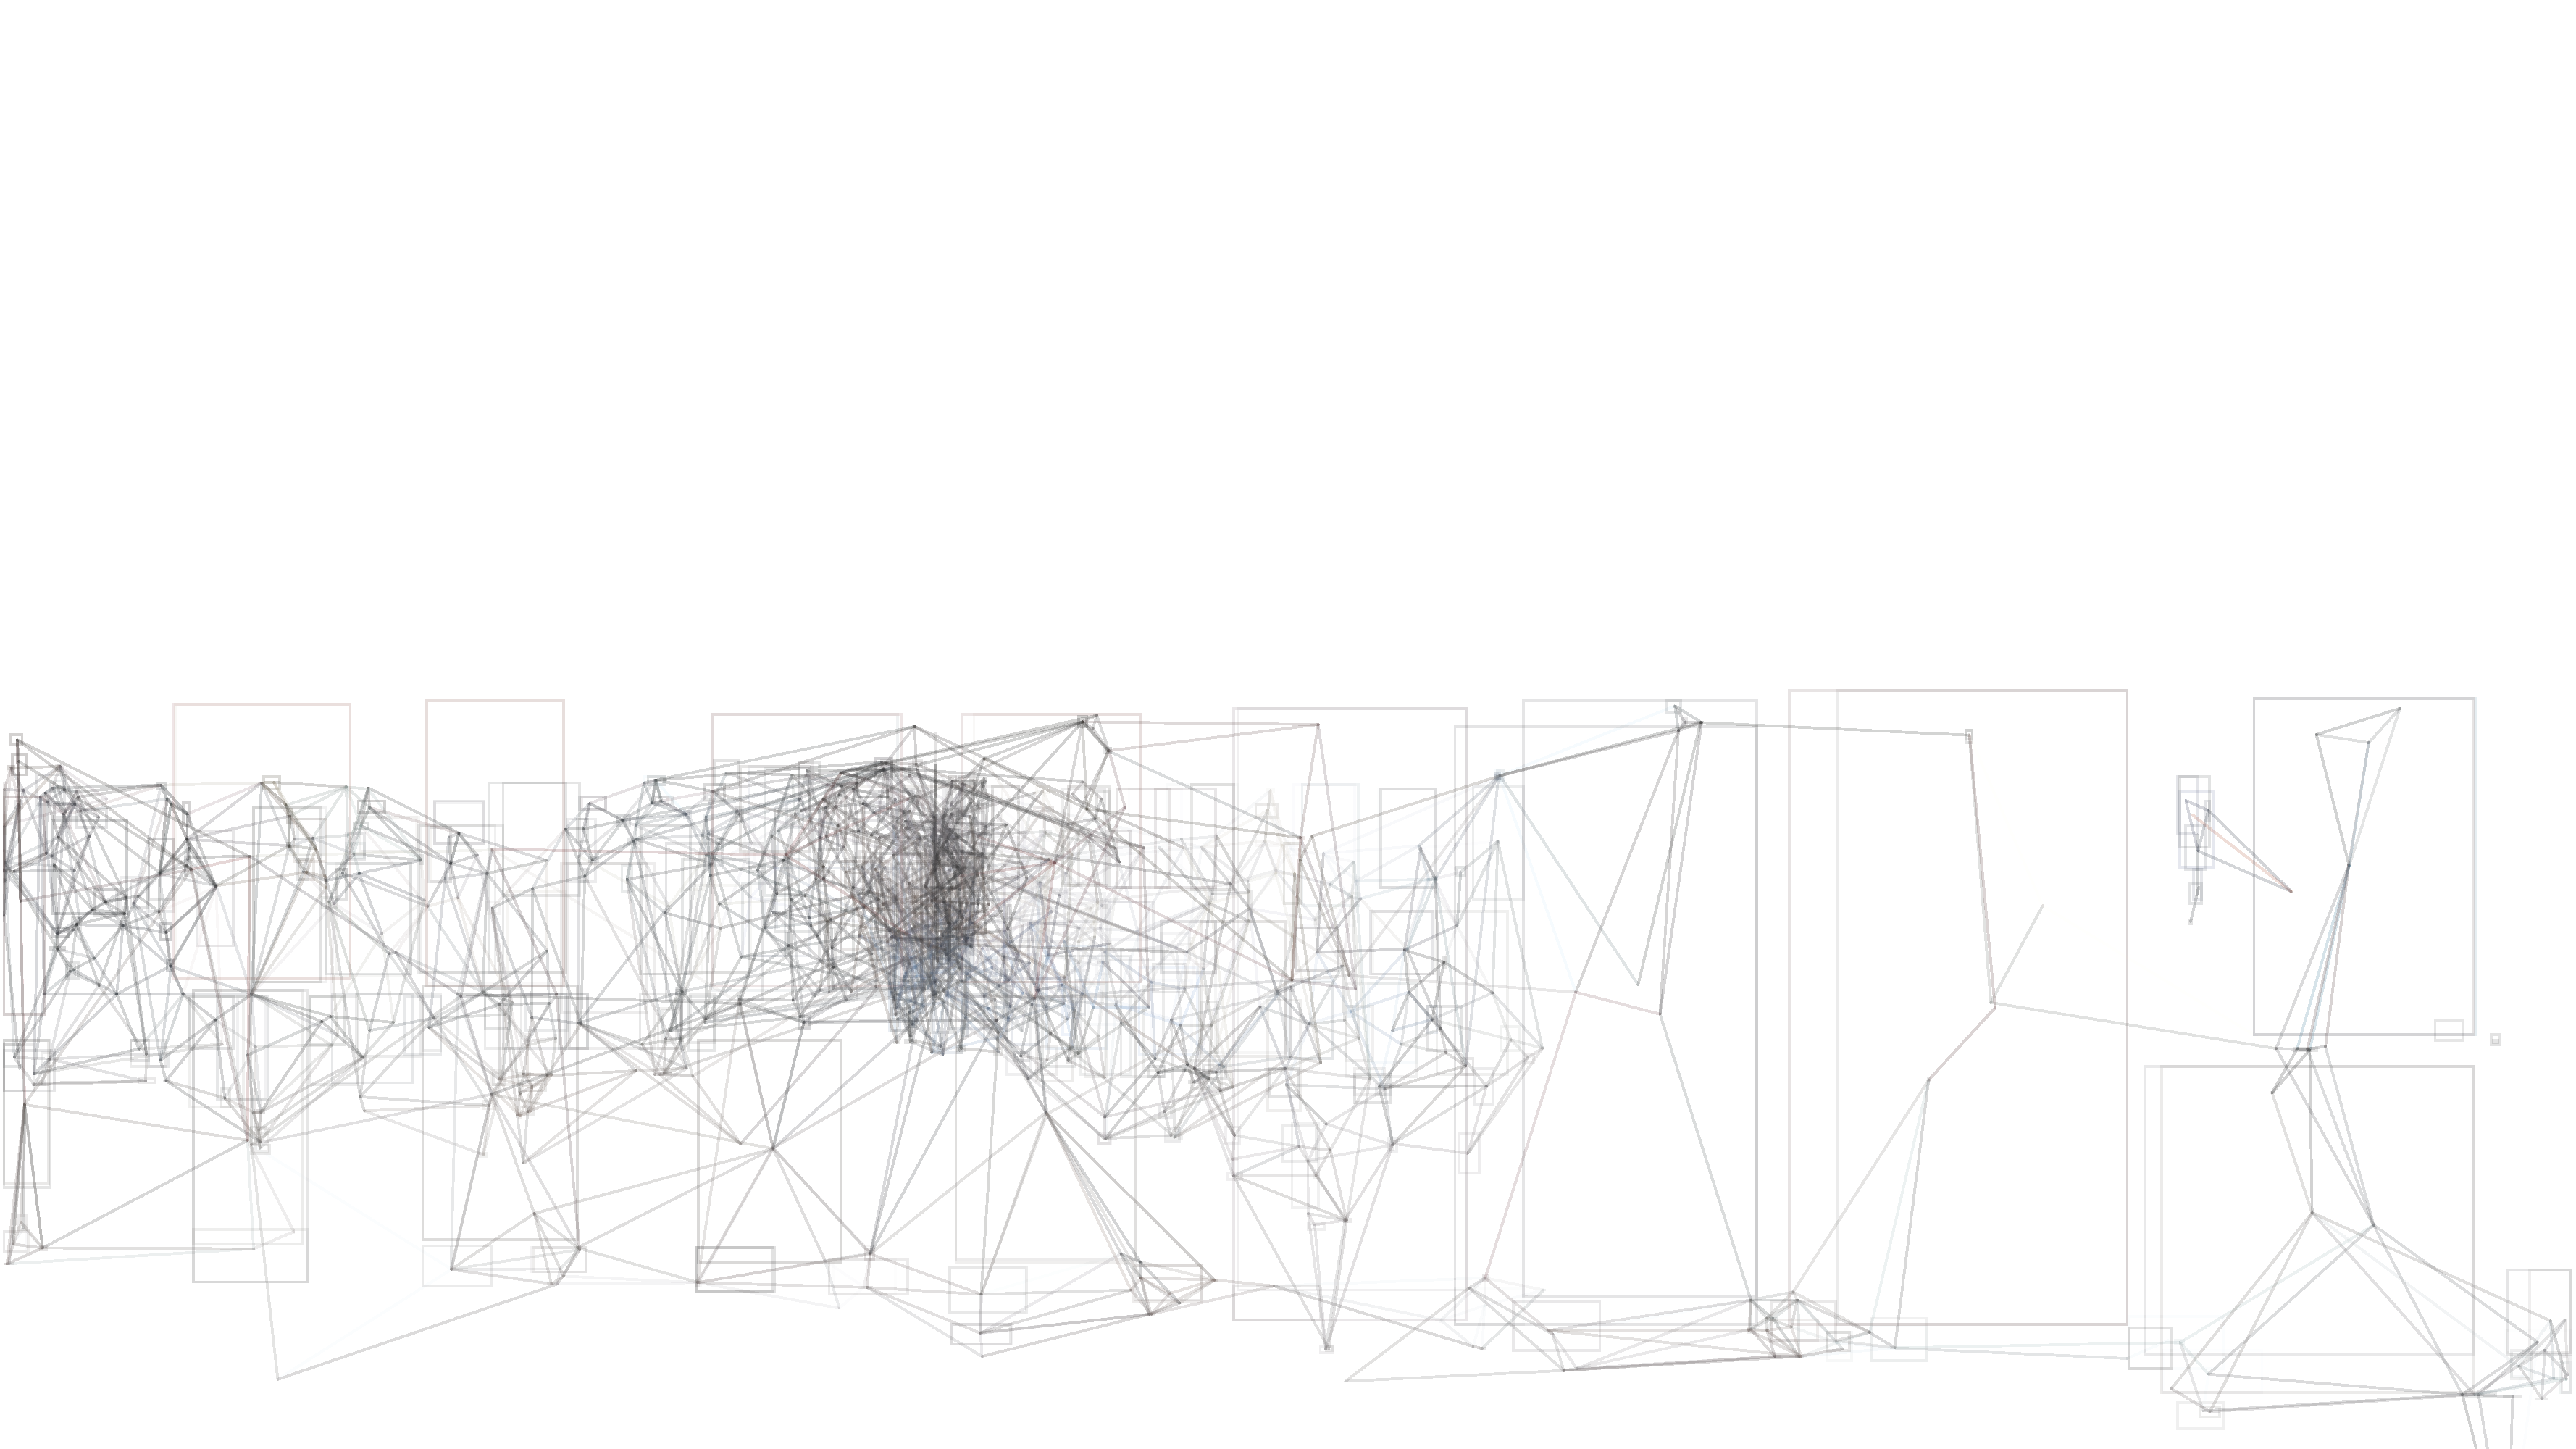
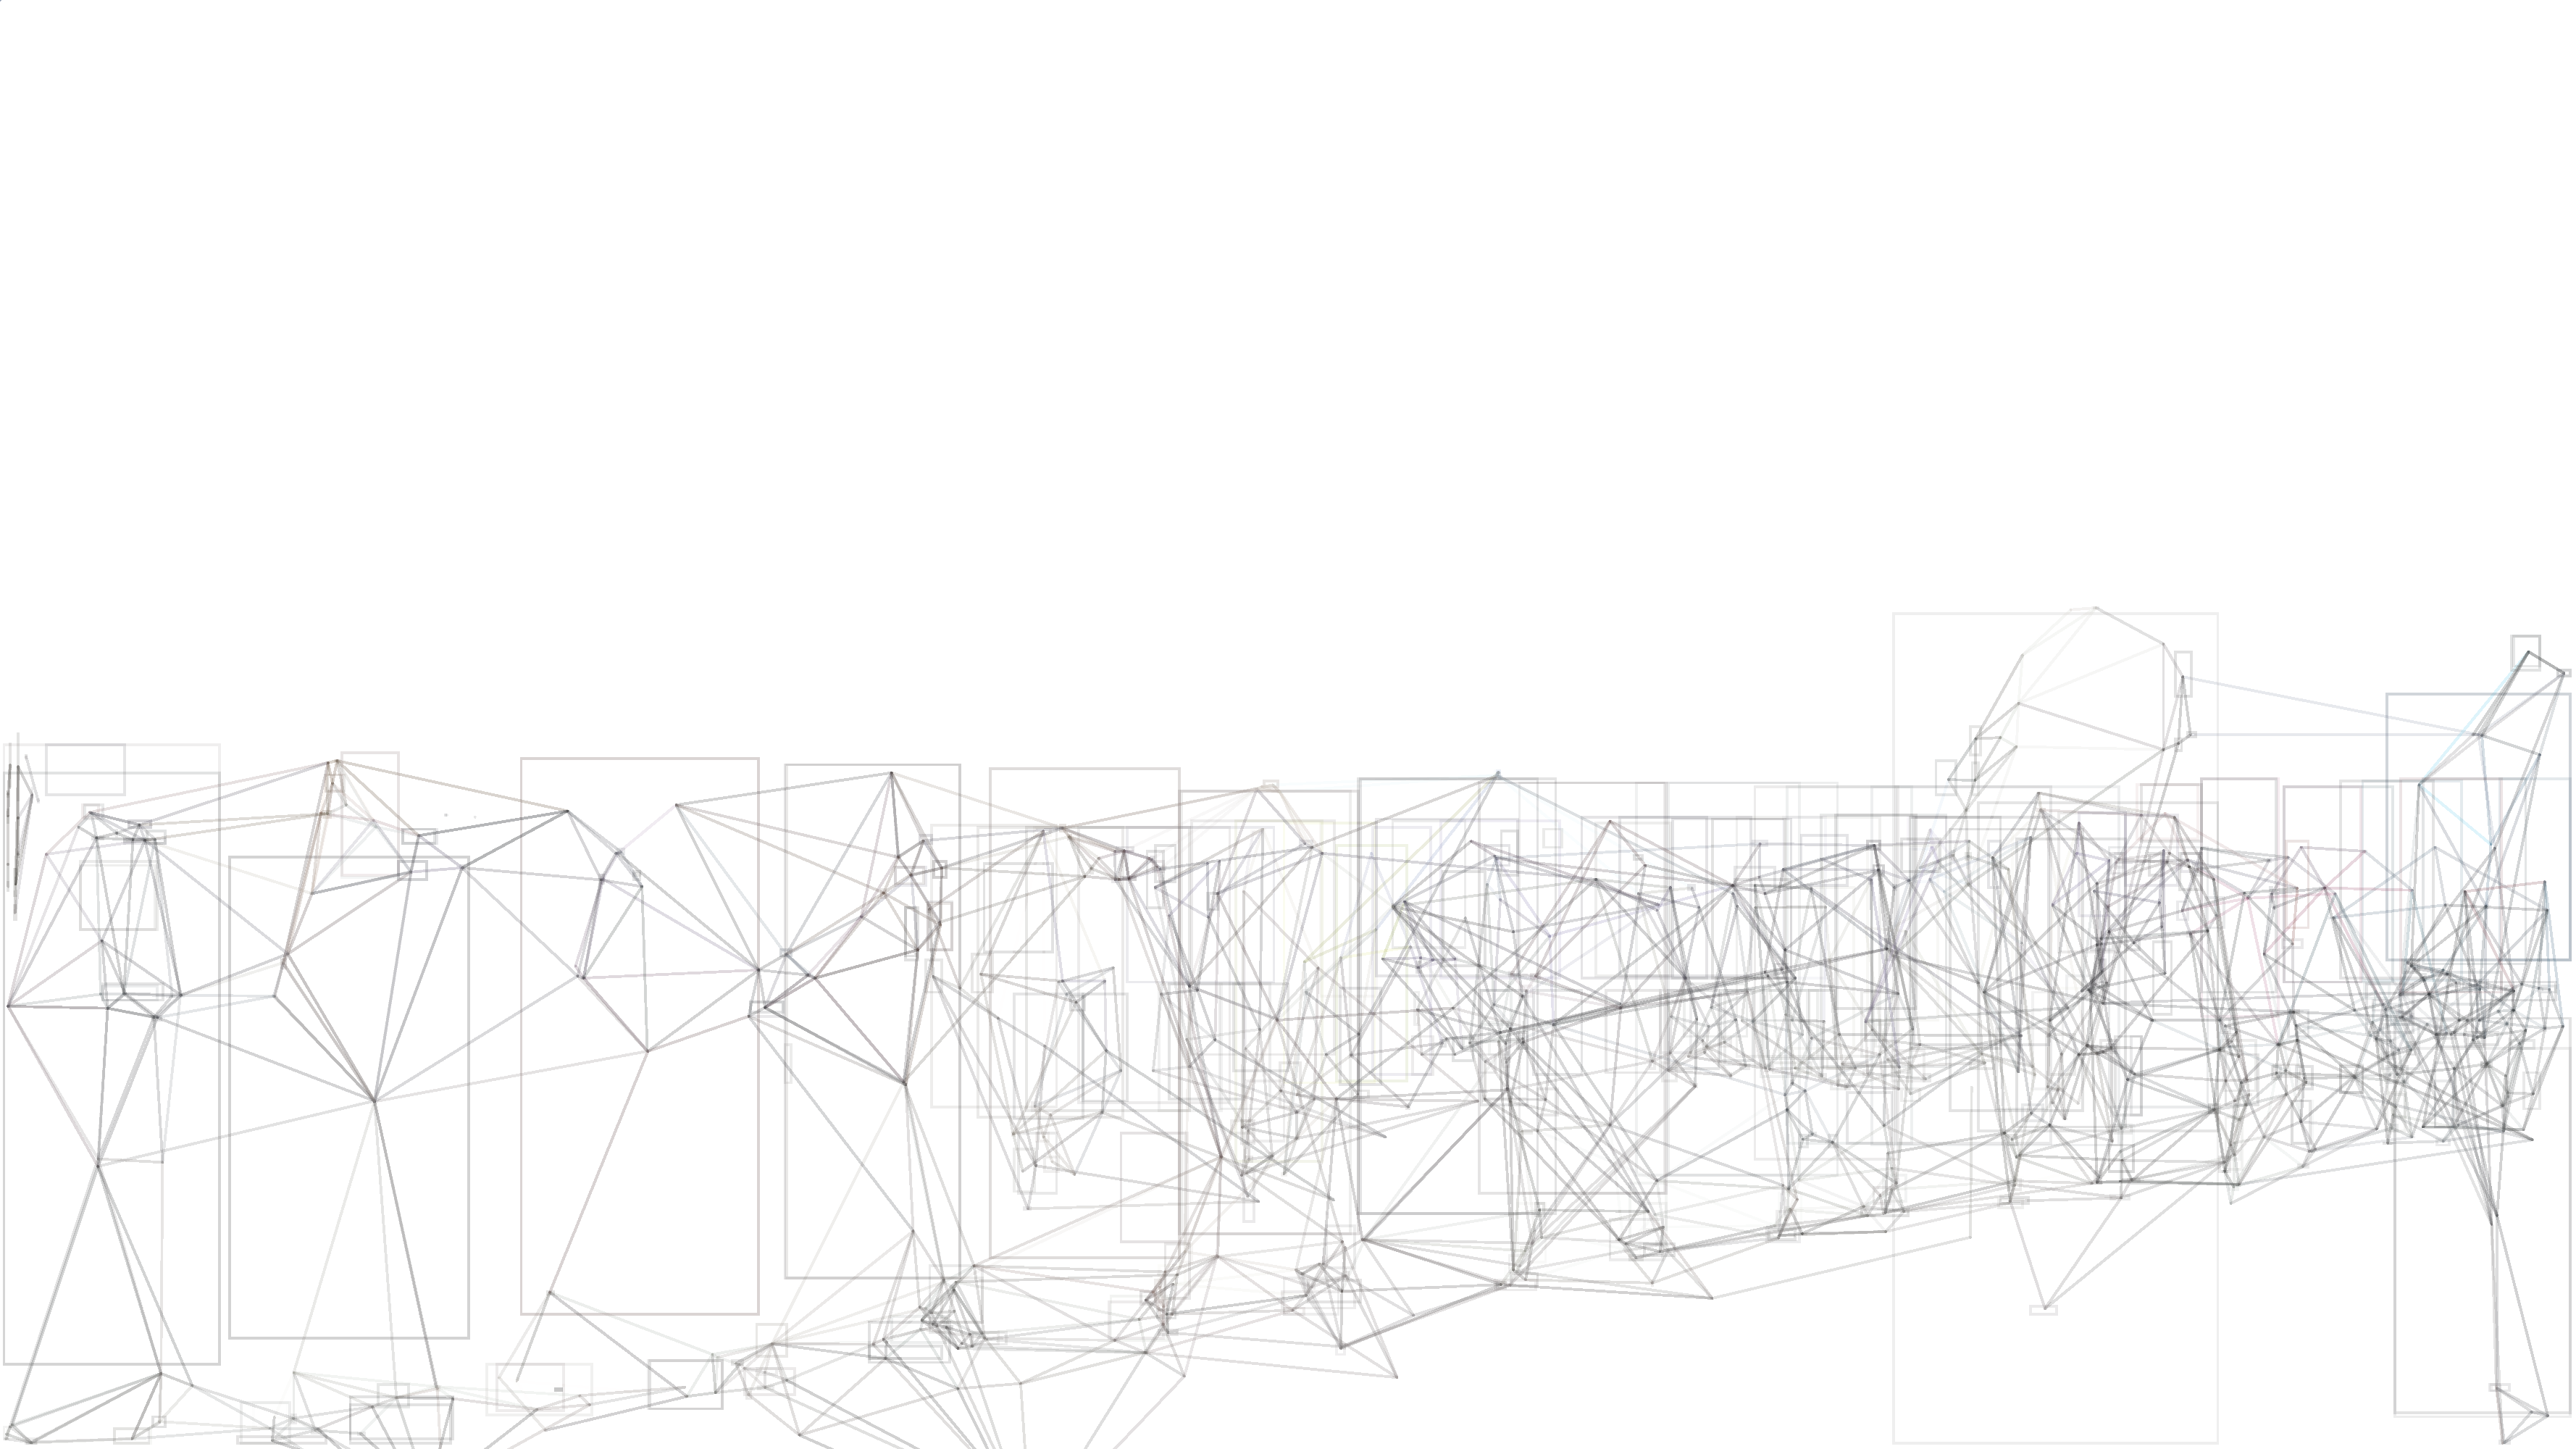
I didn’t give up on print entirely though- I quickly hacked in PDF recording to my sketch and fired some A3 prints out on my home printer. Using cartridge paper gives them a lovely delicate texture. Here are a pair of them rendered from Acrobat as images; I’m slightly baffled about how the Processing PDF renderer deals with colour but they worked out pretty well, and got some very favourable comments from those who attended the show:
So there we are. I’m pretty happy with how this project has worked out: I’ve learned a lot, created something beautiful (IMO at least) and gotten some good feedback about it too. This was the final unit of my college course, and it seems like a fitting end to what has been an excellent couple of years for me.